In part three of our LPVO Basics series with Mark Smith of JBS Training Group, we discuss his take on the zeroing process, the importance of stability, and why not understanding parallax can lead to poor performance at the range.
Q: Mark, as we wrap up this third part on LPVO basics, is there anything you want to emphasize before you talk about zeroing?
Mark Smith – JBS Training Group – I’d like to restress that just like with anything, you have to start somewhere. The most important thing to realize is that the AR you have in your hands is so much more capable than what most shooters give it credit for. But to access that performance, we have to have the right tools on board.
You would never take a race car and drive down roads at 35 miles per hour for the life of that car. That’s what we’re doing with our ARs all too often. Our ARs have so much more to give, but you need to have the right tools in place to allow them to reach out to their full potential.
I’d also encourage shooters to pursue marksmanship. I think one of the biggest things that has faded in recent years is accuracy and marksmanship. A lot of that has to do with red dot sights, and people just can’t see good enough when they are pulling their triggers. I know why many people miss, but they don’t because they can’t see it.
Q: So, let’s say we take your advice. I’ve got my first LPVO and a quality mount, I’ve taken the time to ensure it is properly mounted, what is the best basic approach I should take to get the gun dialed in and zeroed?
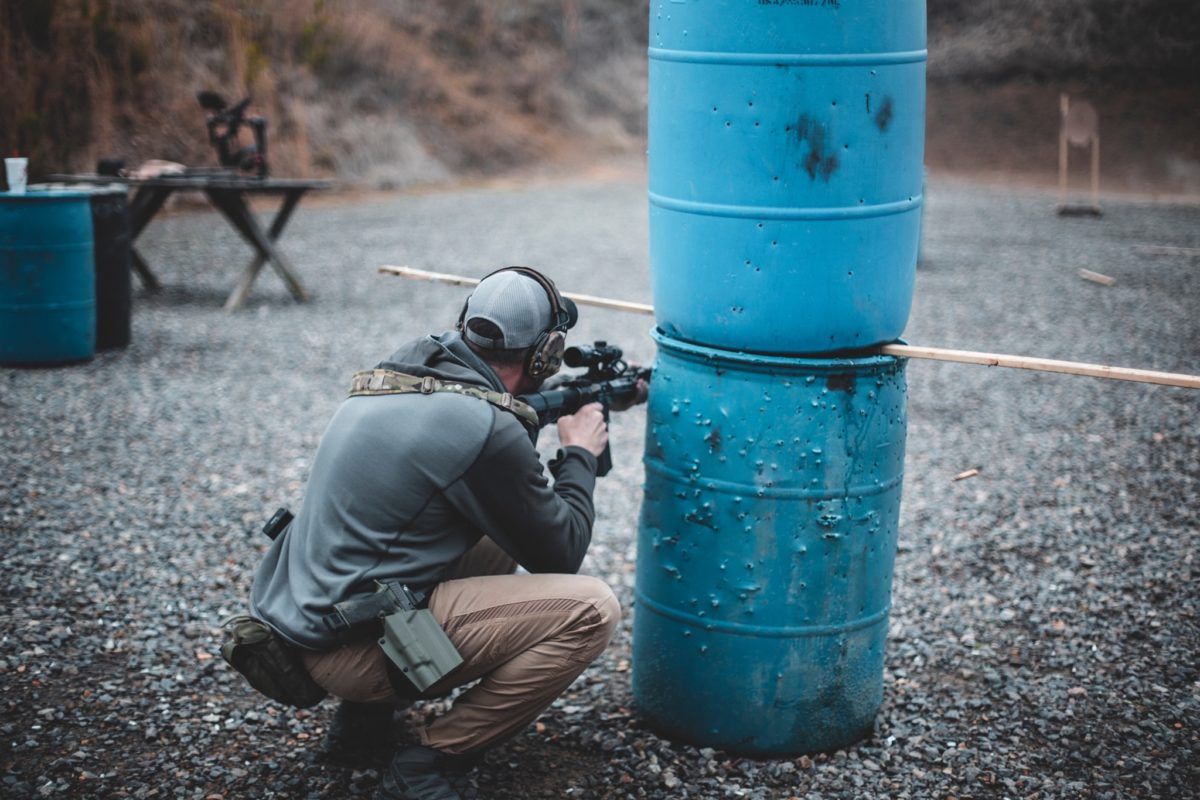
Mark Smith – JBS Training Group – The most important thing you need to understand is that if the gun is touching you, you are causing aberrations to occur. You’re providing human input into the gun, and any time you provide that type of input, it’s hard to overcome. It’s something you want to work to minimize as much as you can.
https://www.youtube.com/watch?v=iAsN0RFyCIE
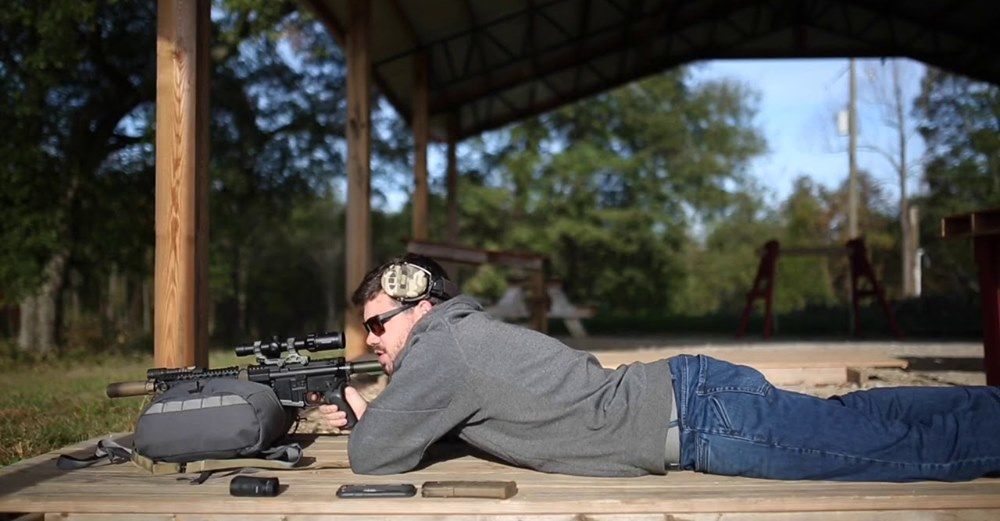
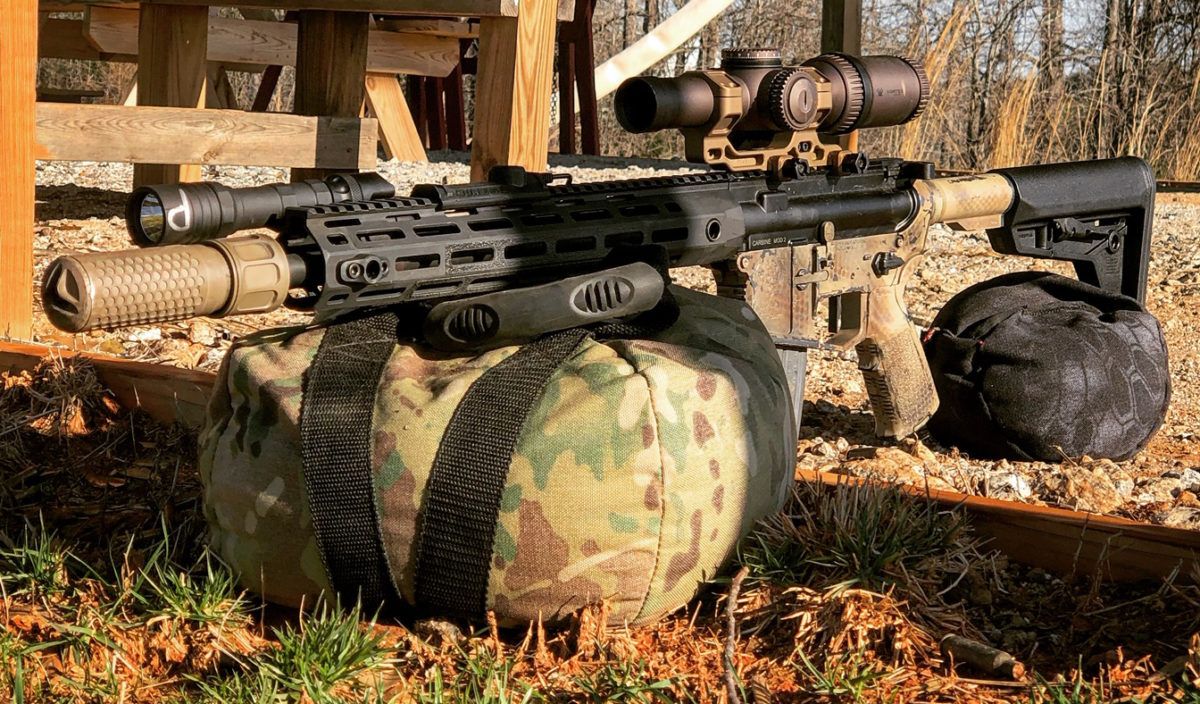
When I go to zero my gun, I will bag the gun on the fore end, and I also bag the gun on the stock. The reason I put bags on the front and back is because I am going to try to remove myself from holding the gun as much as possible. When I find myself supporting the gun with my body, I know I am not as stable as the ground holding the gun. I cannot stress enough how many people fight the zero process because they are not stable. Stability is key.
Q: You say you “bag the gun.” Can you explain what you mean by that to those who may not know?
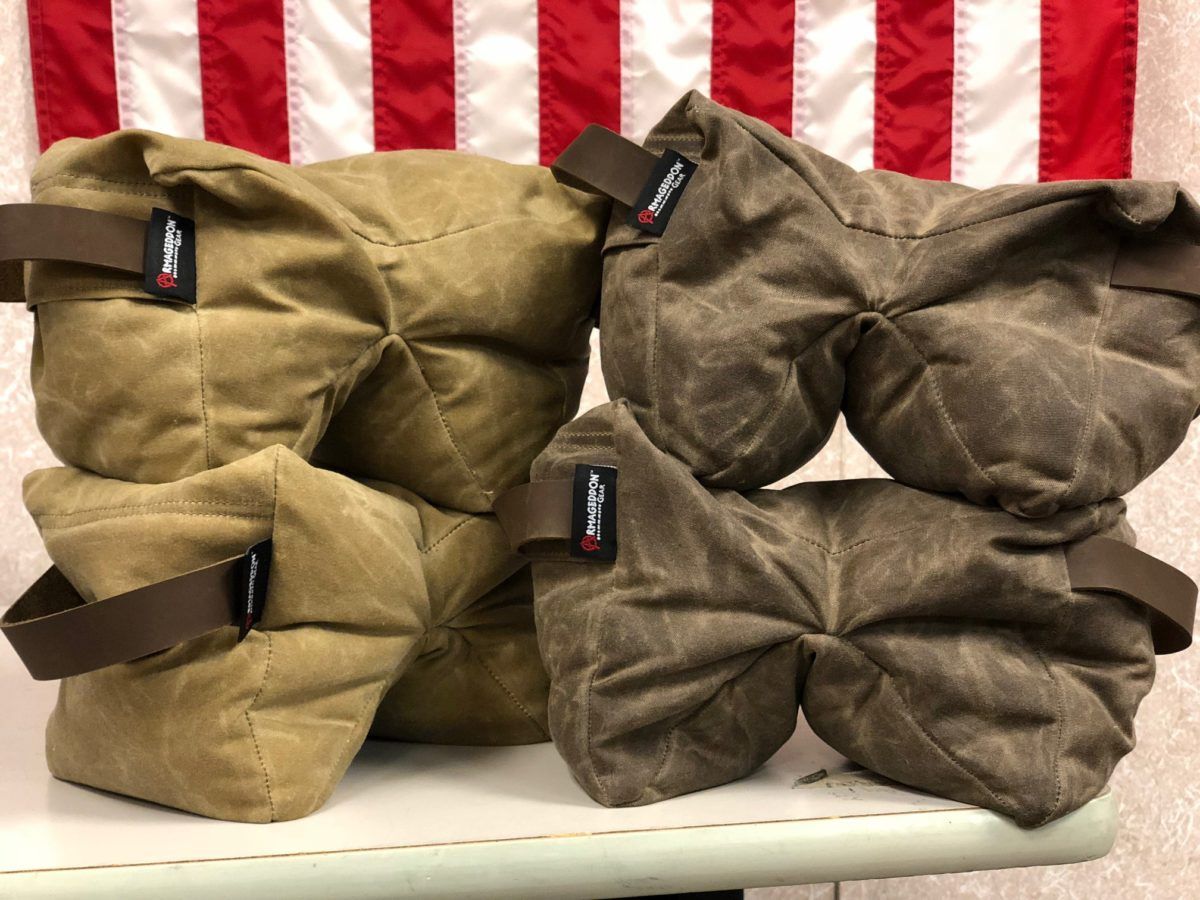
Mark Smith – JBS Training Group – When I zero, I use a Mystery Ranch pack with two throw pillows stuffed in it. I set it in front of me, and the gun rests on that. In the back, I have a rear bag from Armageddon Gear that I use. I put it under the buttstock, and with it, I raise or lower the muzzle’s elevation by squeezing or letting go of that bag. To clarify, I let the bag pick the gun up. I’m not the one picking the gun up.
I’d also note that I don’t have any ammo in the gun at this point. I am merely focused on trying to find the natural point of aim. Ideally, we want the gun to be aimed at dead center of the target, by itself, without any input from us to accomplish this.
Q: So, let’s say the gun is aiming high or low…Your approach is that you don’t try adjust this discrepancy with your hand and shoulder, correct?
Mark Smith – JBS Training Group – If you get behind the gun and the reticle is 6 inches higher than what you are trying to hit, and you push your shoulder into the gun’s stock to try to get it lower, this will show up downrange. Instead, I want to change something with my setup to move the reticle instead. Instead of moving my shoulder, I am going to simply squeeze my bag. That will raise the buttstock up, thereby lowering the reticle on the target. The natural point of aim means the gun is naturally aiming at the target without me having to do it. That’s important, and it’s important to remember that you want to remove any muscular input to the gun.
Once I do that, I am going to establish my breathing. For me, when I breathe in, I breathe in really deeply and then exhale. At my natural pause at the bottom, I want that reticle to be at the center of the target. If it’s not, I am going to shift something or move something to make that happen.
To verify that I have my natural point of aim, I also make sure that I take a deep breath and close my eyes. At my natural pause, I open my eyes again. That reticle should be dead center of what I want to hit. If it has shifted, something is wrong, and generally speaking, I need to move something in the direction of the shift. If the reticle is up, I need to move the rear bag and the elevation of the butt stock up. If the reticle has shifted right, I need to shift something right. I might have to shuffle my hips to the right, or something similar.
Once I have done this and have everything established the way that I want it, I will then take a dry fire shot. I am going to make sure that the reticle is not moving when the hammer falls. I want to make sure that my trigger is not affecting what I see, that the way I am gripping my gun is not impacting anything. Only after I have done all this do I load the gun and begin shooting.
I first start out with a five-shot group and establish where that is on the target. Let’s say I see I am hitting six inches to the left. Based on my turret adjustment, I will move however many clicks are required to move six inches at 100. That requires a little bit of math. Then, I am going to fire another five shots.
Once I get it to where a few of the shots are hitting where I want, I will then send ten. Then, I am going to check the results. What I am trying to do is to establish the cone of accuracy that is coming out of the end of the gun. Rifle bullets come out of a rifle barrel the same way that a sugar cone is shaped. They come out in a cone, not a straight line.
What I find most often is that guys will shoot a three-shot group and think that it’s good enough. However, when they shoot a 20-shot group, the cone of accuracy has shifted a few inches one way or another, and they would never have known it. What I want to do is zero that cone, not just those three shots. For my zero process, it generally takes me 30 rounds.
Q: I’ve been around a lot of shooters who zero their rifles with fewer shots fired.
Mark Smith – JBS Training Group – You can undoubtedly confirm zero with something like five shots, and what I described is not something I do when I am merely ensuring my zero. I might confirm my zero with three shots. However, if I have a new scope and a new mount, or a new gun, or if anything significant has changed or I have dismounted anything, I will go through that longer process.
Keep in mind, it may not matter for the 50-yard-and-in shooter, but when my cone of accuracy has shifted 1 inch at 100 yards, it has shifted 2 inches at 200 yards…you can easily imagine how you can end up missing by a lot at a distance because you thought a more involved process wasn’t necessary.
Q: Can you touch on the importance of a consistent, proper cheek weld, etc.?
Mark Smith – JBS Training Group – The cheek weld is something that is not thought of enough by many shooters. I believe it is because most shooters don’t shoot past 50 yards. Parallax is an issue shooters do need to know about and pay attention to. Good body position is imperative. I want zero muscular input into the gun.
If I am craning my neck and fighting to move my head into position, that is muscular input. I should be able to rest my cheekbone down on the stock, get a proper cheek weld, and be completely relaxed and be able to see through my scope. If I can’t, the answer is not to move my head. The answer is to adjust my cheek weld.
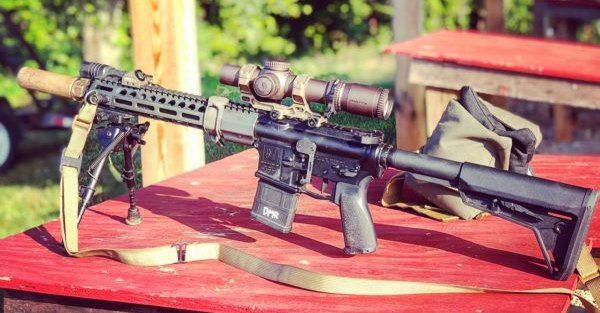
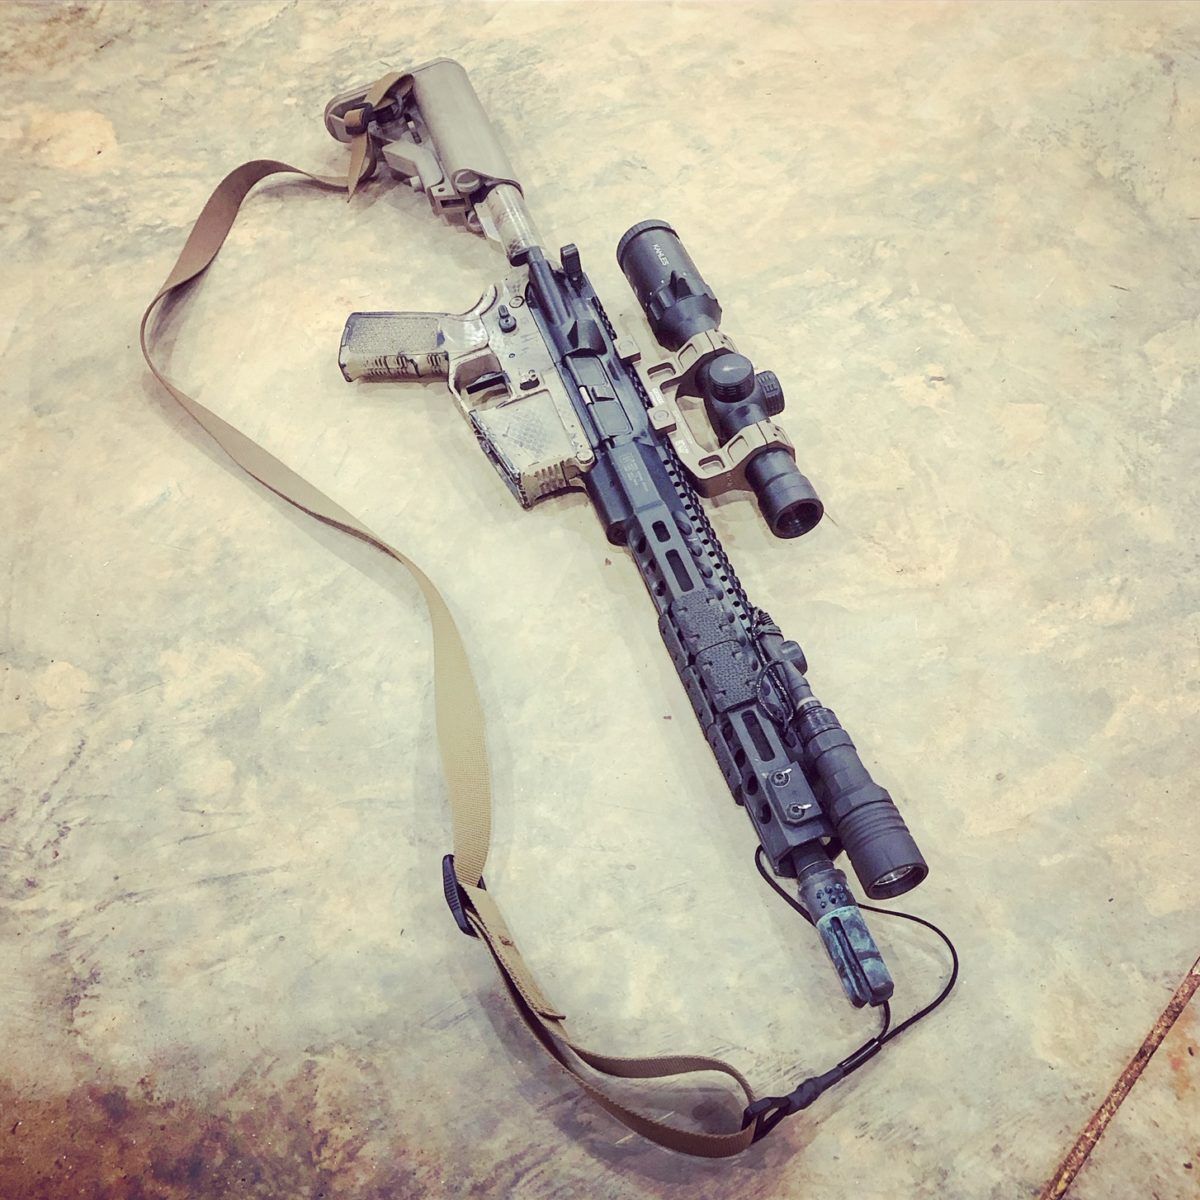
This is why I run a 1.70 mount with a .25 riser on my stock. Not because I need it to see through the scope, but because I need it to be able to have a genuinely neutral body position. Whenever our eye is not centered directly behind the scope, especially on an LPVO, we will run into issues at a distance.
We can introduce parallax with an LPVO to cause a 1-2″ shift at 50 yards. Think about that. That is crazy, and it really should drive home the importance of knowing about parallax and knowing about the importance of a proper cheek weld and neutral body position. So, don’t sit there and think you can run a 1.93 mount without doing anything else. It’s not that you can’t see through it, and it’s not that you can’t do most things through it. It’s that you have to stop and think and process, “am I centered behind the optic? Is there any scope shadow? Is everything perfect?”
Q: Anything else you’d like to add before we wrap up in regards to LPVO basics?
I think we’ve covered a lot when it comes to LPVO basics. I’ll close with this idea…I believe that the same way a red dot on a pistol is such a significant improvement for self-diagnosis and marksmanship, the same thing also applies to a 1-6x LPVO on a rifle. I can do so much more with my AR because I can see better with it. If you want to stretch your legs and see what you and your rifle can do, I think the LPVO is a tool that you cannot do without. Do the research into what LPVO is right for you, dive into the LPVO basics as far as how to use it, and get out there and shoot.
###
Did you find this article useful?
Let the author know with a 5 star rating!
Average rating 5 / 5. Vote count: 15
No votes so far! Your rating will help us continue to provide valuable and interesting content.
Since you found this post useful...
Follow us on social for first dibs on brand new content!
We are sorry that this post was not useful for you!
Let us improve this post!
Tell us how we can improve this post?
Related Posts:
Unforced Errors & AR-15 Mistakes to Avoid with Mark… Simple mistakes mental mistakes and bad gear choices may be holding you back from becoming a better shooter and a more capable armed citizen. To learn simple, practical areas where…
Jared Reston - Training & the AR-15 for Law Enforcement ARBuildJunkie recently spoke with Jared Reston of Reston Group about the AR-15's vital role in law enforcement and just how critical it is for LEOs to seek out their own…
AR-15 Precision Long Range Shooting Basics AR-15 Precision Long Range Shooting? We reached out to the man who literally wrote the book on the subject, former Army Ranger sniper team leader Ryan Cleckner. His book, is…
Red Dot Sights for the AR-15 - An ARBuildJunkie Q&A… Installing red dot sights on your AR-15 is one of the first upgrades you might be considering for your new rifle. To discuss what you should be looking for, and…
Gun Training - AR-15 Basics with Mike Green of Green Ops Seeking training from a reputable company is a vital step in developing your skills with your newly built or purchased AR-15. Just having a high quality, reliable firearm is not…
Special Purpose Rifle (SPR) Basics with Ridgeline Just what is a "Special Purpose Rifle" or SPR and why are these sorts of AR builds becoming increasingly popular? To find out more we reached out to Alex Hartmann…
Subscribe
0 Comments
Most Voted
NewestOldest
Inline Feedbacks
View all comments
If you want to be among the first to know when we release new content, your best bet is to sign up via email:
We’ll keep the emails to a minimum and we will never sell or give your information to a third party.


 Basics with Ridgeline")