One of the questions I get the most from someone building an AR-15 is, “Which is better, X or Y?” My response is usually some variation of, “It Depends,” or “What are you doing with it?”
While factors like craftsmanship, quality, and the like are critical, most people seem to neglect the reasoning behind their choices. When building an AR-15, there are many variables to consider, and your choices must be informed by the results you tend to achieve. Once you start to focus on the “why” during your decision making process, a much clearer and informed picture will present itself.
Buiding an AR-15 – The “Why” Behind Component Selection
For starters, one of the components that is most frequently questioned when someone is buiding an AR-15 is barrel length. This can change from person to person to a small degree, as preference and budget are real factors, but the larger factor will be the intended use.
If the gun will be primarily for close-quarters fighting, room clearing, or the like, a shorter barrel makes sense. However, suppose the goal is to reach out to targets at further distances or perform a dedicated marksmen rifle role. In that case, a longer barrel will yield more consistent results. Ash Hess of Knights Armament recently wrote about this in his Quantified Performance group. In that article, Ash describes running a 11.5″ carbine and failing to register hits on target beyond roughly 400 yards while warming up for a match. The first step is to know what your desired range will be and build from there.
Something reaching out and needing pinpoint accuracy generally requires a bit more than an LPVO will offer and generally sees something with an upper range of 12-15 times magnification. The polar opposite, a close-combat rifle, is perfectly fine running a red dot or holographic sight, as ranges are generally going to be inside of 50-100 yards. That isn’t to say shots could not be pushed out to a few hundred yards, but that isn’t the goal here.
LPVOs and magnifiers offer a way to cover both goals, but at the cost of a bit more training (never a bad thing) and oftentimes an added monetary cost. Being able to quickly adjust from 1x to 8x (or 10x in the case of the Vortex) or cant the rifle to use offset sights takes a bit of getting used to, but can be extremely useful. Magnifiers behind a red dot offer a similar enhancement, but clearing the magnifier in a hurry can be a bit clumsy until practiced.
Building an AR-15 – A Lesson on Lighting
When building an AR-15 from the ground up, weapon-mounted lights are a source of confusion for many folks. First of all, yes, you need a weapon-mounted light on your gun. But more than that, you need to factor in how many Lumens a light has, how many Candela it has, and understand a bit about why both are essential to have enough of. You can have all the Lumen in the world, but if you don’t have enough Candela to punch through a photonic barrier (like fog, for example), they are worthless.
You also need a light that consistently delivers at distances you’ll need, so Lumens do factor in (along with throw and spill). You also need a source capable of providing enough power to run your light. Otherwise, you are shortchanging yourself. This isn’t even taking into account things like mounting position of the light, pressure switch vs tail cap, momentary on versus constant on, and many other topics that could fill an article on their own.
What I’ve highlighted above are just a small sampling of weapon components that are driven by intended outcomes. To try and discuss each and every part would turn this article into a novel. Rather than go into deep and lengthy detail, I’d like to run you through the mindset and selection of parts for a rifle I just recently finished building. Perhaps the process I went through when building an AR-15 with it will help you better understand the thoughts behind components so that you can make intelligent choices.
Building an AR-15 – Determining MY “Why”
As for the “why” of my rifle, I wanted to build a new hard use training and personal protection rifle. This role was my starting point. I also wanted this to be a rifle I could put through the paces of any rifle classes I wanted to attend, including low-light and night shooting course.
Also, I wanted to use it to defend my family if the need ever arose. I never intended it to be used for medium-range precision, but rather I wanted to focus on 200 yards or closer, and have the ability to quickly clear my home and property if needed.
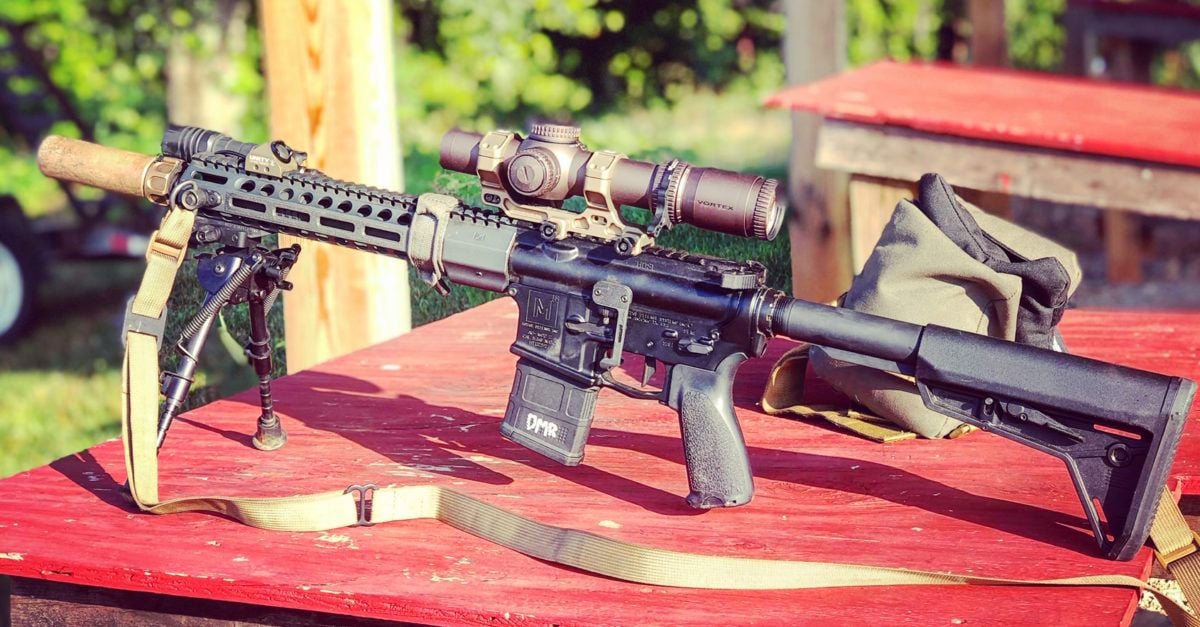
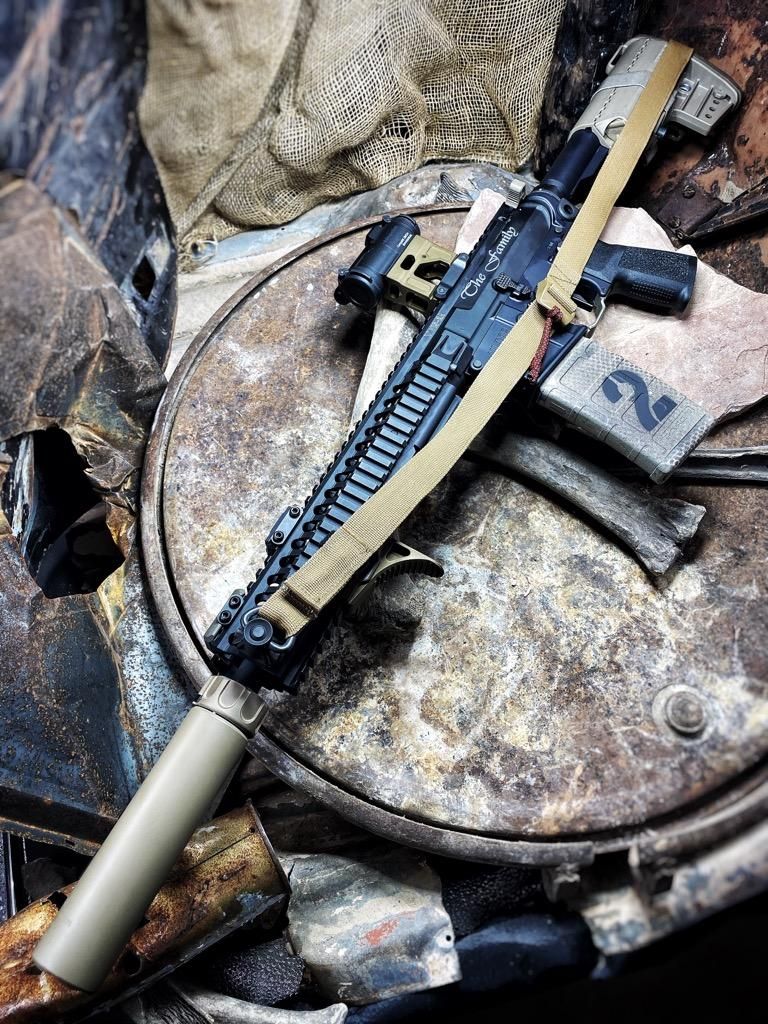
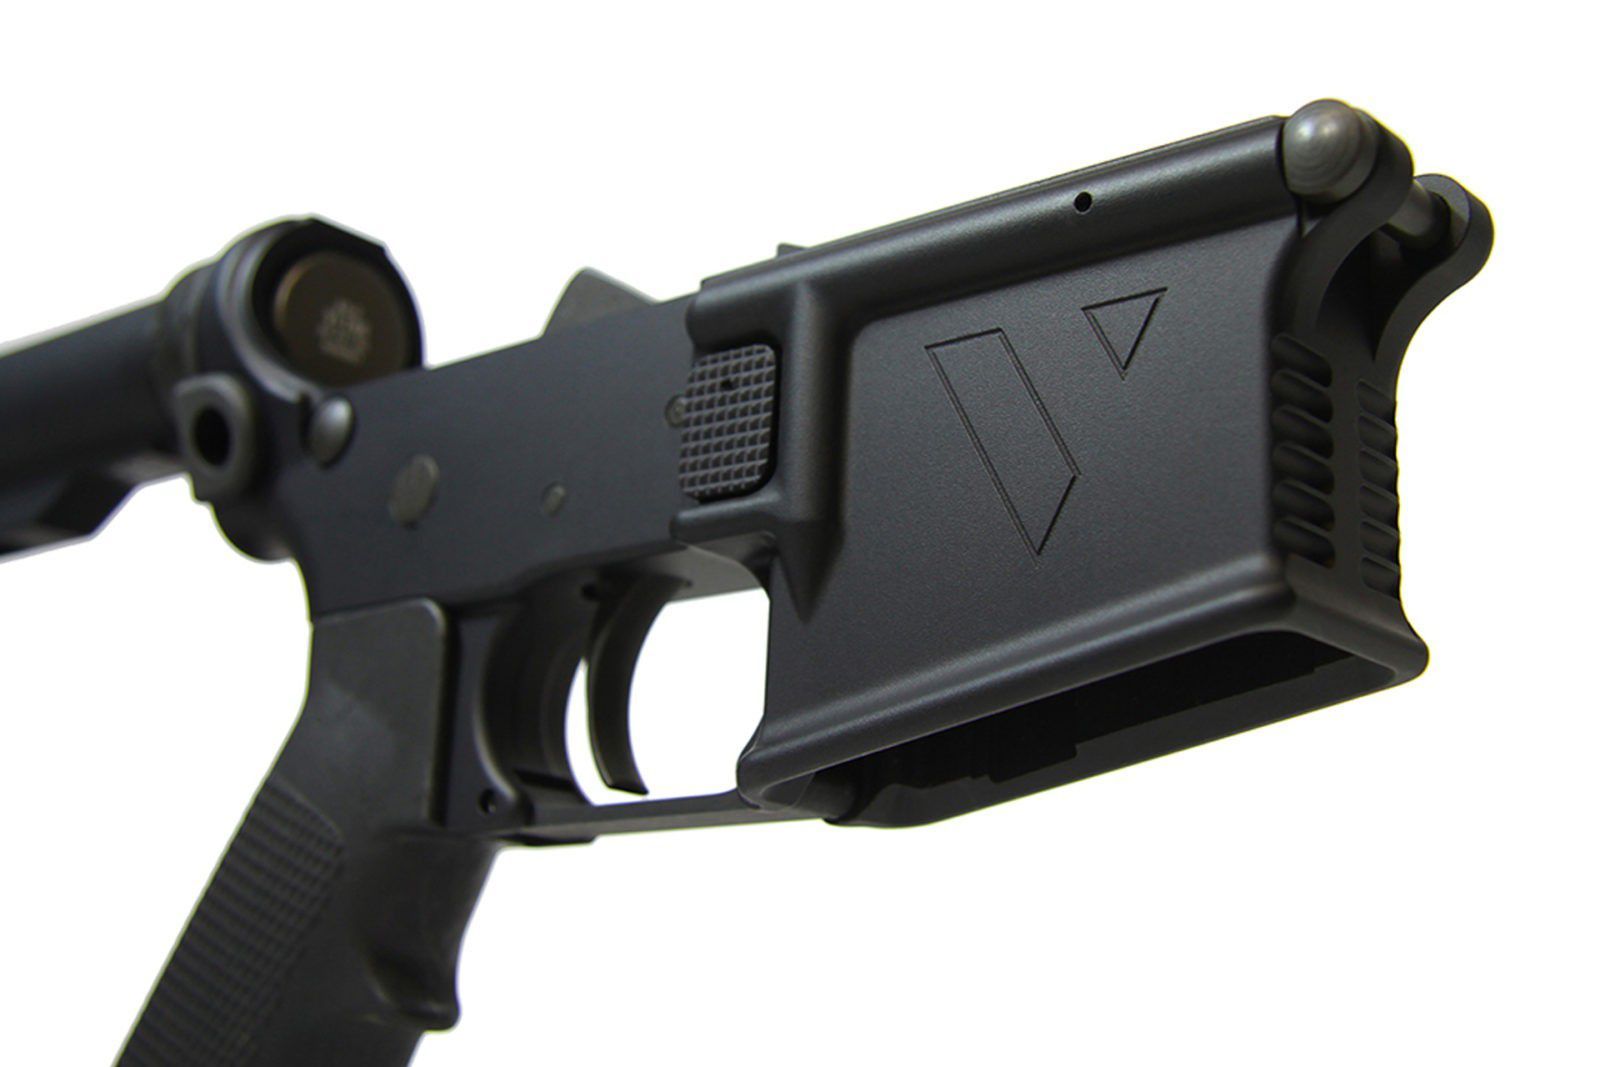
With that role in mind, I started this build off with a VLTOR VIS-2AK “polylithic” upper, a Centurion Arms 11.5″ carbine-length barrel, and a VLTOR lower receiver. The VIS upper has the upper receiver and quad rail handguard fused as one piece, making them incredibly strong. This was important to me for reasons such as weight-bearing (holding a light, an IR device for night shooting, etc.) and for the ability to maintain shape due to impact (you never know what happens in a close-quarter fight).
The Centurion Arms barrels are some of the best available (read the full review here https://www.arbuildjunkie.com/best-ar-15-barrel-what-to-look-for/ and https://www.arbuildjunkie.com/centurion-arms-hammer-forged-barrels/ ). It only made sense to have the folks at Centurion Arms pin the gas block to their barrel, which meant proper placement and mating from the factory. The port size would also allow for suppressed and unsuppressed shooting, although the plan is to have a dedicated suppressor on this gun one-hundred percent of the time.
The Reptilia grip offers a more vertical angle, which in turn offers a more comfortable wrist position for extended shooting times (this angle will vary with the overall length of pull of the gun).
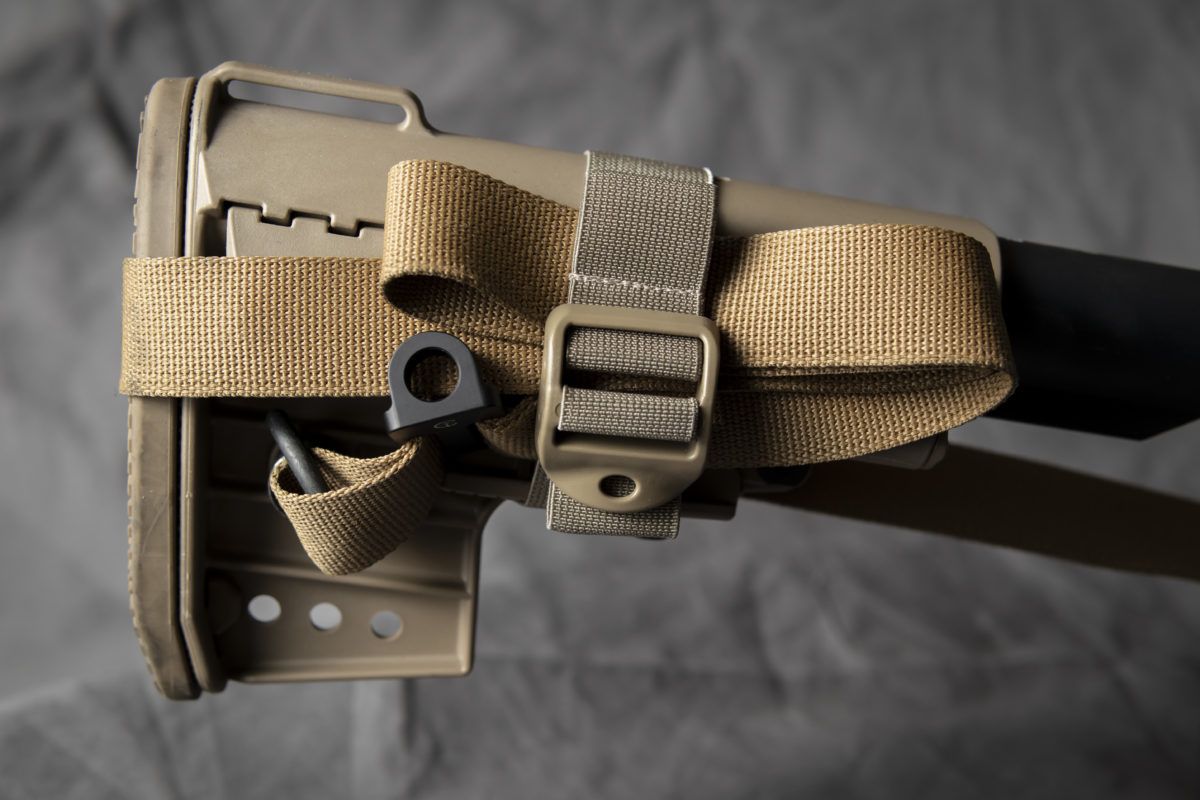
The VLTOR stock added some storage compartments, a nice cheek weld surface, and is built to withstand impact. Finally, the Gripstop is quite simply the most comfortable foregrip I’ve used for a C-clamp hold while shooting. Also, it is designed to be able to brace into a cover object to fire from a supported position with no additional modifications.
Building an AR-15 – Optic, Mount and Muzzle Device
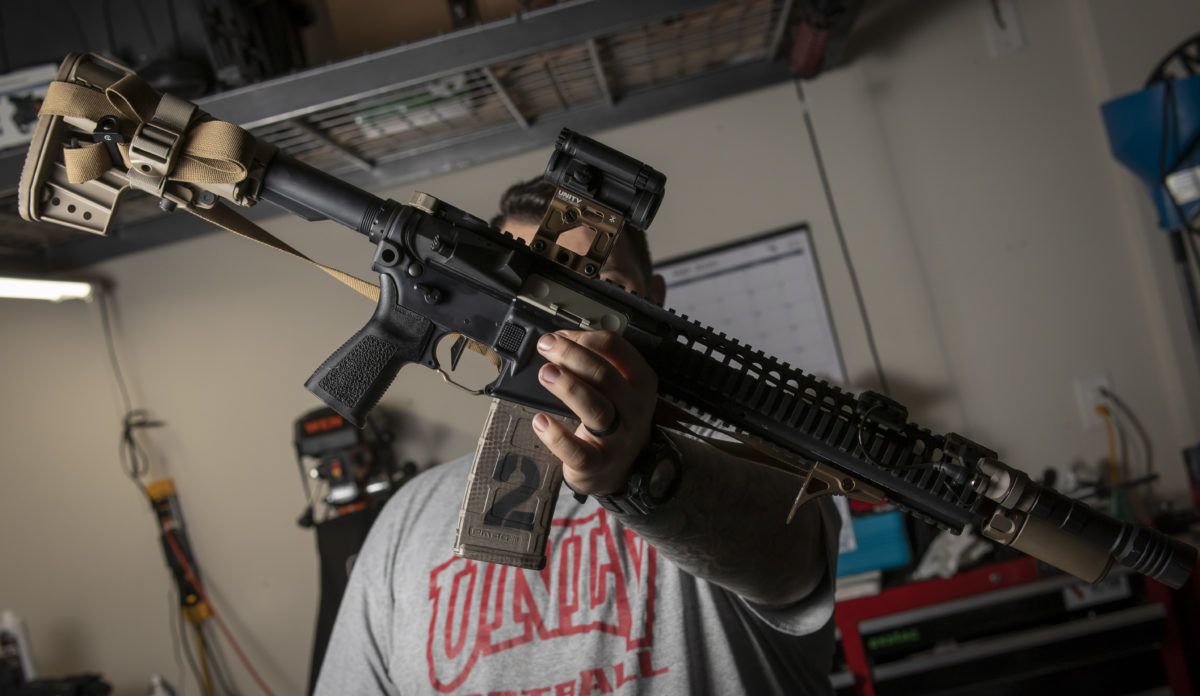
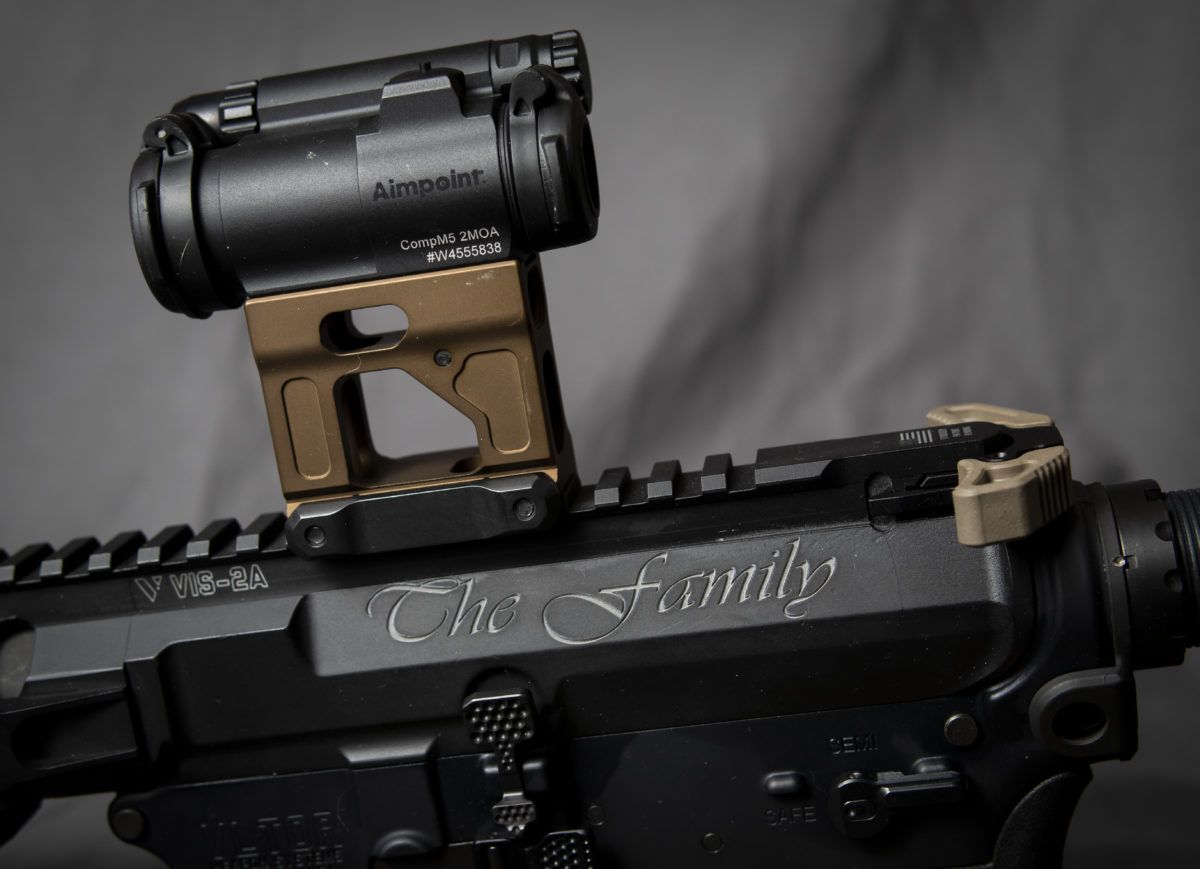
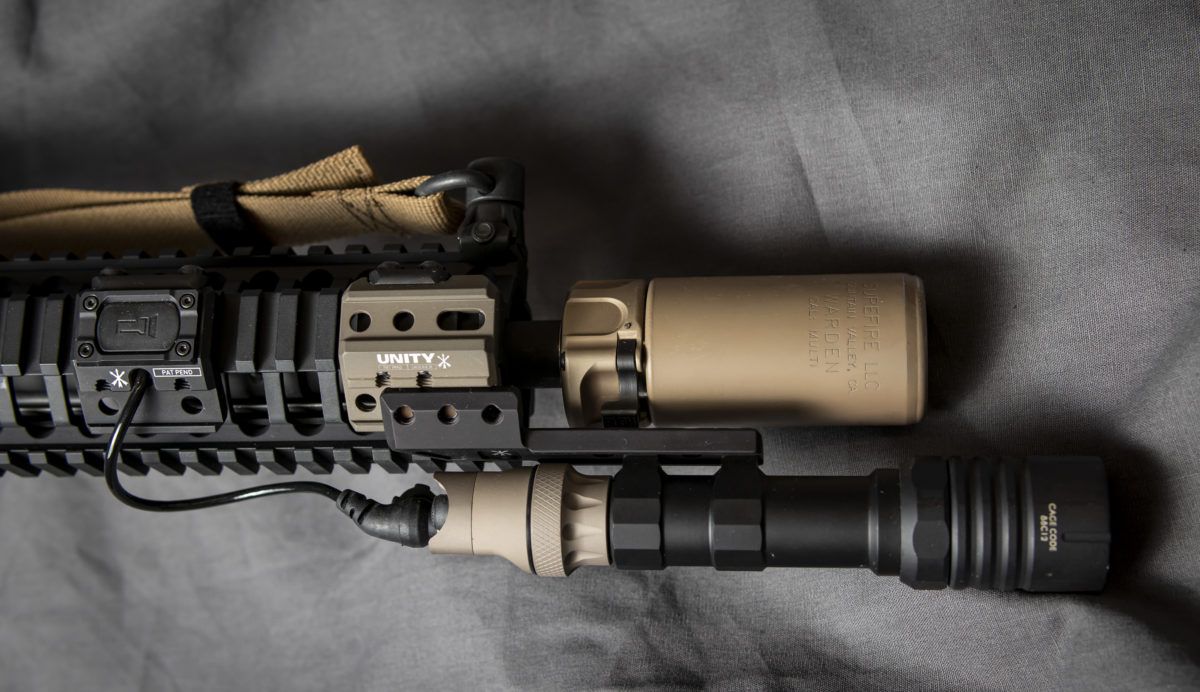
Optics, illumination, and actual firing components were all that remained. As this was designed primarily for home defense and training, I went with an Aimpoint Comp M5 on a Unity Tactical mount. This allowed me to leave the dot on so it was ready at a moment’s notice.
The Unity mount allows for a more heads-up shooting position, which I find comfortable and would be useful down the road for shooting with NODs in night shoots. An added benefit is the built-in backup iron sight in the mount.
For components related to firing the gun and running it, I built it around the idea of shooting suppressed. A Surefire SOCOM RC2 can was the plan from early on, as it offered low flash signature, low blowback for the shooter, and it wasn’t too long (shout outs to Jorge at Capital Armory and Nick at Reptilia for the help selecting this).
Building an AR-15 – Bolt Carrier Group
An LMT Enhanced Bolt Carrier and bolt offered more dwell time, improved gas dispersion and direction, and more consistent operation of the bolt and extractor under pressurized shooting.
Building an AR-15 – Charging Handle & Trigger
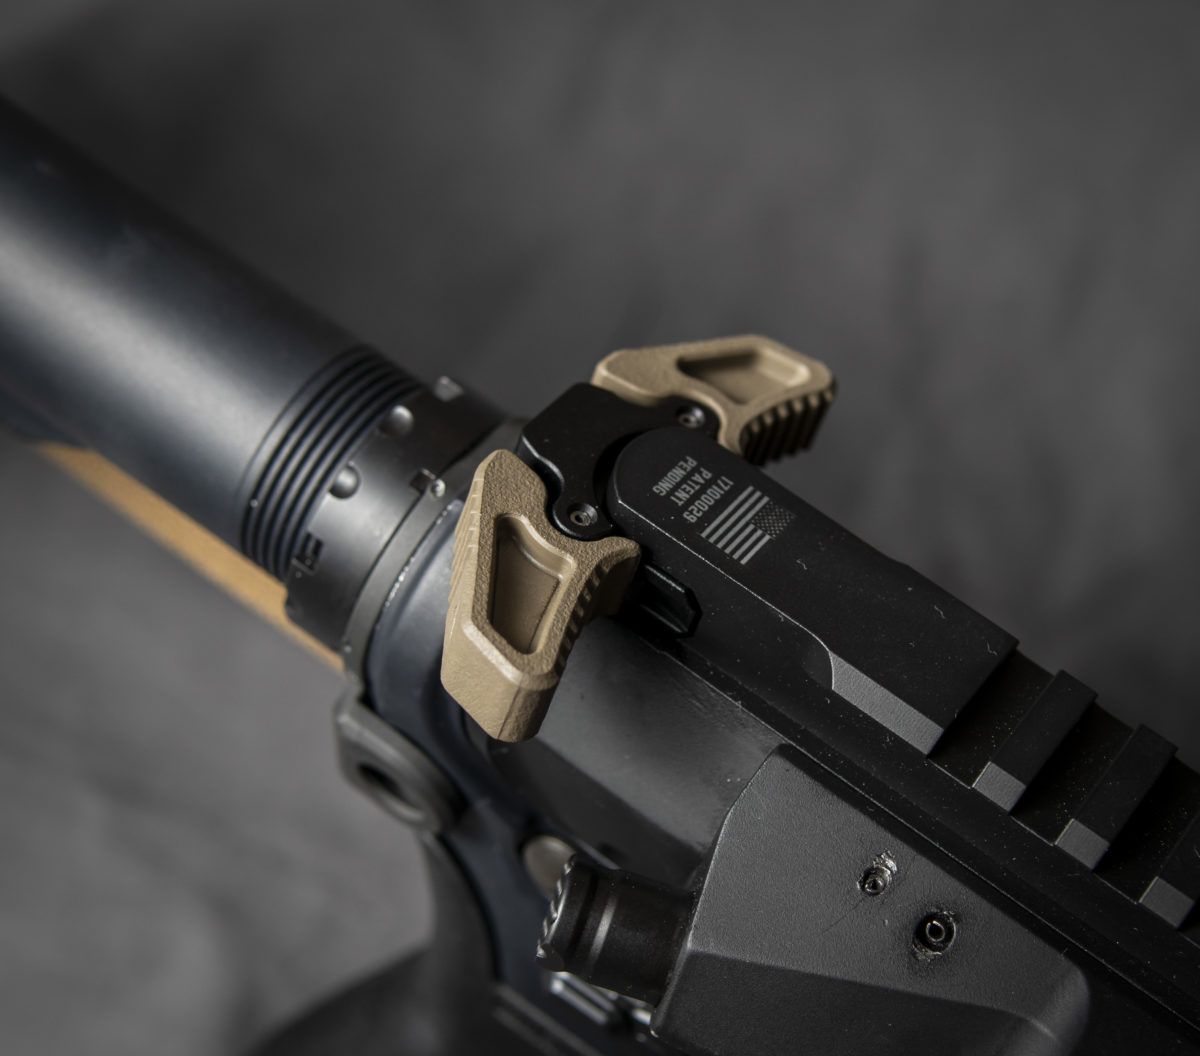
A Radian ambidextrous charging handle was a no brainer for ease of operation as well as the fact I find they don’t snag on clothing/gear very easily. Lastly, a Geissele SD-C trigger was installed, as I prefer the flat bow, and run them in my other guns so consistency across the systems aids in muscle memory.
Building an AR-15 – Weapon Light & Mounting
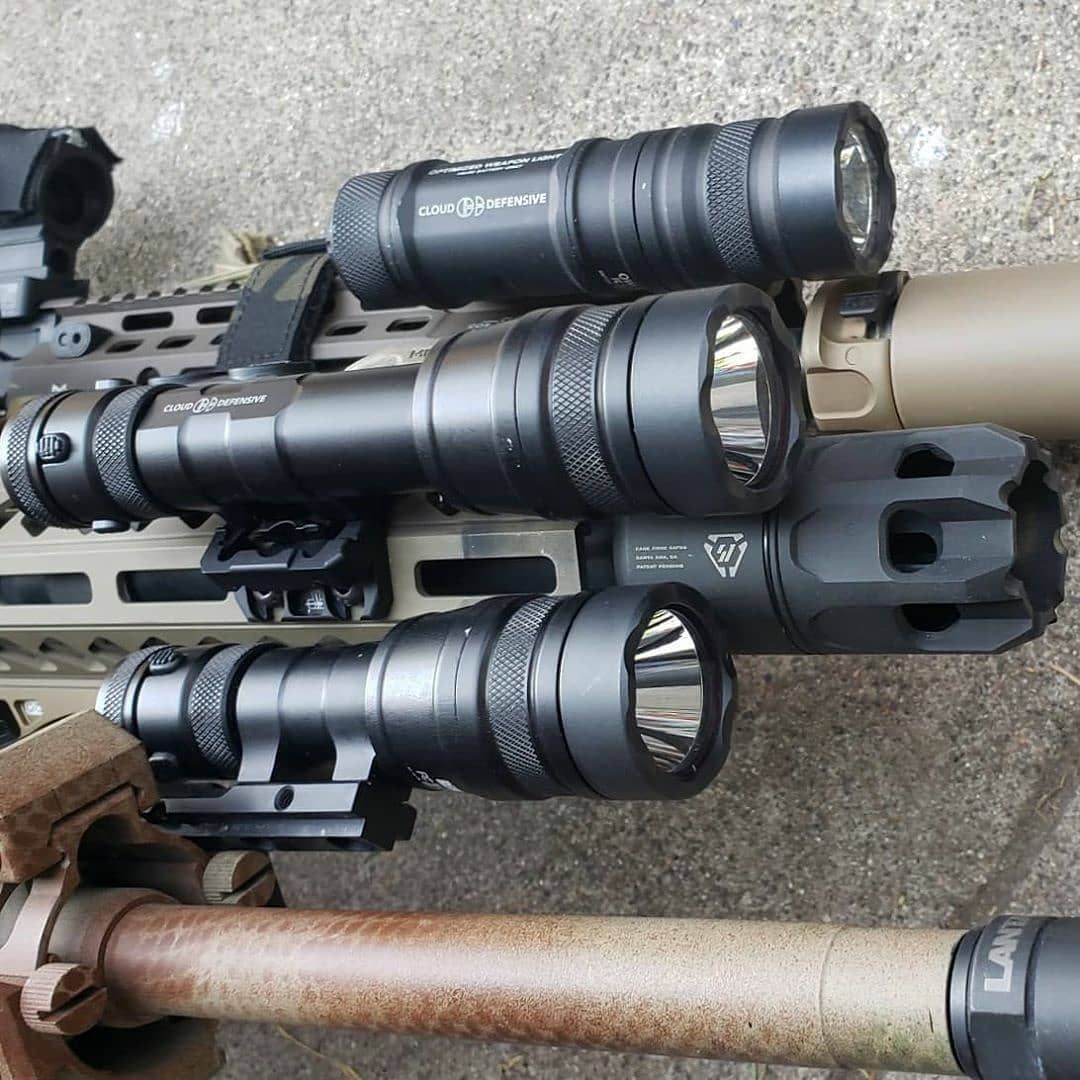
Illumination was the next issue to explore. I needed a light bright enough and intense enough to handle night shooting in the desert (dust is one hell of a photonic barrier). I needed to positively ID targets out to a range of a couple of hundred yards, and I had to address the shadow created by the suppressor. All of these needs led me to the Modlite OKW attached to a Unity Lightwing on a Unity Hub.
This allowed me to push the light far enough forward to minimize the suppressor shadow, without compromising the structural soundness of the mounting solution. The OKW brings 680 lumens and nearly 70,000 Candela, so it is intensely bright and has an insane amount of throw (with a moderate spill). The entire setup is run with a Surefire DS00 tail cap (for the moments that constant on are needed) and a Modlite Modbutton. The Modbutton is one of only a few products that allows the full power of the Modlites to be utilized, as older technology switches lack the function.
Building an AR-15 – Conclusion
Hopefully, this walkthrough of my most recent build helps to shed some light on gear selection. Do your best to always start with the purpose of the mission, be it a range toy or duty weapon, and focus on driving towards desired results. There are many components available for the AR15 platform, and most will serve a specific function. Do your homework, research on how to meet your needs, and don’t be afraid to switch things up if the results aren’t where you want them.
About The Author
Todd is a gunsmith based out of Las Vegas, Nevada. After receiving his degree from Sonoran Desert Institute, Todd has spent his time building and maintaining a variety of machine guns and product testing for various companies. His main focus is expanding his knowledge on the AR-15 platform and helping bring better quality products to the market for end-users to enjoy. You can read a collection of his past articles here.
Did you find this article useful?
Let the author know with a 5 star rating!
Average rating 4.5 / 5. Vote count: 11
No votes so far! Your rating will help us continue to provide valuable and interesting content.
Since you found this post useful...
Follow us on social for first dibs on brand new content!
We are sorry that this post was not useful for you!
Let us improve this post!
Tell us how we can improve this post?
Related Posts:
Jared Reston - Training & the AR-15 for Law Enforcement ARBuildJunkie recently spoke with Jared Reston of Reston Group about the AR-15's vital role in law enforcement and just how critical it is for LEOs to seek out their own…
AR-15 Precision Long Range Shooting Basics AR-15 Precision Long Range Shooting? We reached out to the man who literally wrote the book on the subject, former Army Ranger sniper team leader Ryan Cleckner. His book, is…
Unforced Errors & AR-15 Mistakes to Avoid with Mark… Simple mistakes mental mistakes and bad gear choices may be holding you back from becoming a better shooter and a more capable armed citizen. To learn simple, practical areas where…
Sprinco Springs for a Better Performing AR-15 Why Choose Sprinco springs for your AR-15? To find out, Last fall, we chat with Alan Dugger of Tactical Springs LLC/Sprinco USA. Dugger discusses his early involvement with firearms, the…
Gun Training - AR-15 Basics with Mike Green of Green Ops Seeking training from a reputable company is a vital step in developing your skills with your newly built or purchased AR-15. Just having a high quality, reliable firearm is not…
V Seven Weapons Systems - A Cure for the Common AR? V Seven Weapons Systems is building high-quality, extremely lightweight ARs using a variety of uncommon materials including titanium, magnesium and lithium aluminum. In recent months we've heard a lot of…
Subscribe
0 Comments
Most Voted
NewestOldest
Inline Feedbacks
View all comments
If you want to be among the first to know when we release new content, your best bet is to sign up via email:
We’ll keep the emails to a minimum and we will never sell or give your information to a third party.